How to install Superdesk with Docker: A quick-start guide to the free open-source version
Newsroom workflows are complicated. The software you use to manage them shouldn’t be. In this post you’ll learn how to install a pre-configured instance of Superdesk. Once you’re up and running, have a look around, kick the tires, and let us know what you think. And if Superdesk feels right for you, be sure to get in touch. We’re here to help you code your own newsroom destiny.
IMPORTANT: This is not a production ready setup of Superdesk. When you stop and remove the Docker containers, any data you create will be permanently deleted. We’ll cover how to use volumes to persist this data in a future blog post (or you can have a go yourself).
Installing Superdesk
Step 1
To get started, you need to configure Superdesk to work on your computer. Superdesk is a robust and highly-configurable headless CMS that powers some of the world’s largest news organisations. Typically, that requires large amounts of server space. But here we will use our own machines to drive Superdesk, which will work for this demo just fine.
The first task is to create a plain text file saved in a new folder on your desktop. Do not create it in a cloud folder, like Dropbox or OneDrive; it must be saved locally. We’re going to be running Superdesk through a Docker image, which essentially means the server and client will be pulled from the internet via the Docker Hub and then run on your machine. The file you create supplies Docker with instructions to start running.
The name of the folder doesn’t matter, just as long as you can find it easily. To simplify things, we’ll call our folder “SD Docker.” The file must be called docker-compose.yml and saved in the newly-created folder with the .yml extension, and not .txt or .doc.
Step 2
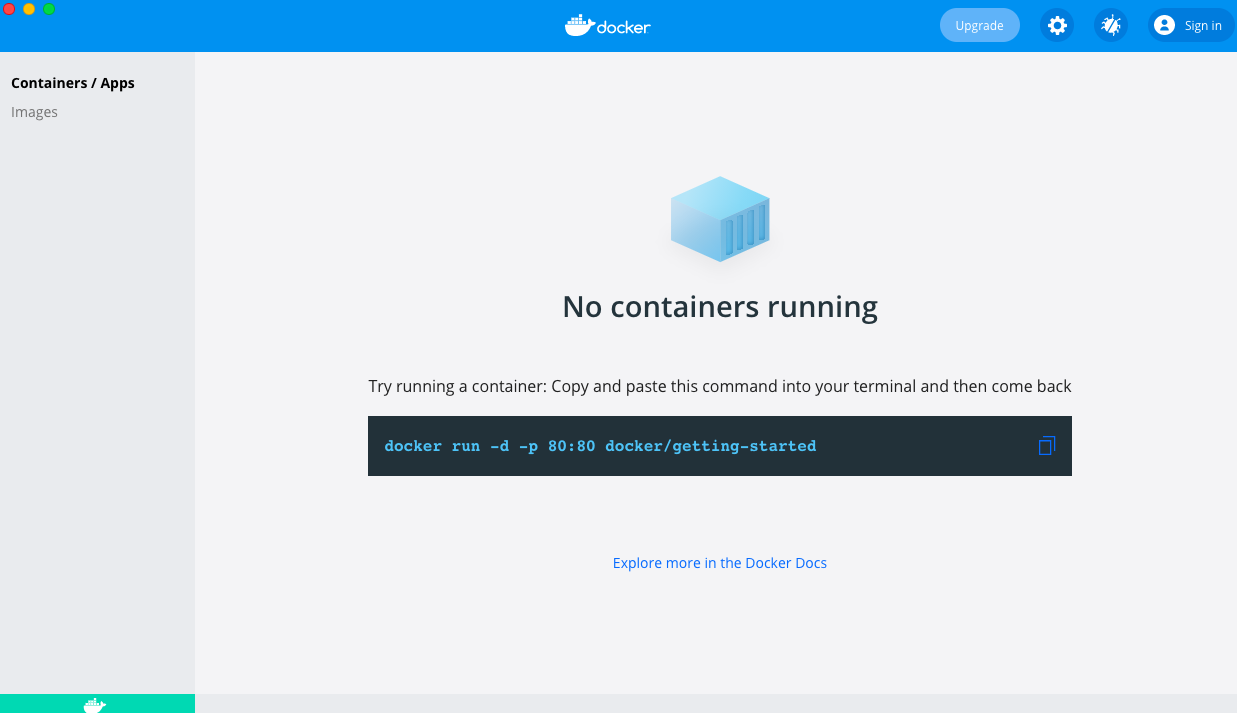
Next, download and install the free Docker Desktop via this link. After download is complete, find the program and open it. If you are running on Linux, you may need to install Docker Server and Docker Compose command line tools instead. On Windows and Mac, your screen should look like this:
Step 3
Locate the folder and plain text file you created in Step 1. Copy and paste this code into the file (again, it is essential that you save it as plain text with no formatting).
Step 4
Open a command line on your computer. To do this on a Mac, hold down “Command” + “Space” and type “terminal.” On a Windows machine, open the start menu and search for “command prompt”.
Step 5
We need to locate the correct directory where you stored the plain text file with the .yml extension. If you saved the folder on the desktop, as instructed above, type “cd desktop” to “change directory” to the “desktop.” Now, type “LS,” which will “list” the computer files in that directory. After hitting enter you should see a list of files and folders that are on your desktop, including the “SD Docker” folder created in Step 1.
Step 6
Type “cd sd docker” in the terminal command line. This will change the directory to the SD Docker folder. Typing “LS” should return a list of files including docker-compose.yml, which we created in Step 1. If this file does not end in .yml, type the following code into the command line to change the file extension (if the file extension is .txt, for instance): mv docker-compose.yml.txt docker-compose.yml
Step 7
Type docker-compose up in the command line. This will download Superdesk’s server, client, and dependencies, and run them. Give the configuration setup 2-3 minutes to complete. Important: You must have Docker installed and running (Step 2) for this command to work.
Step 8
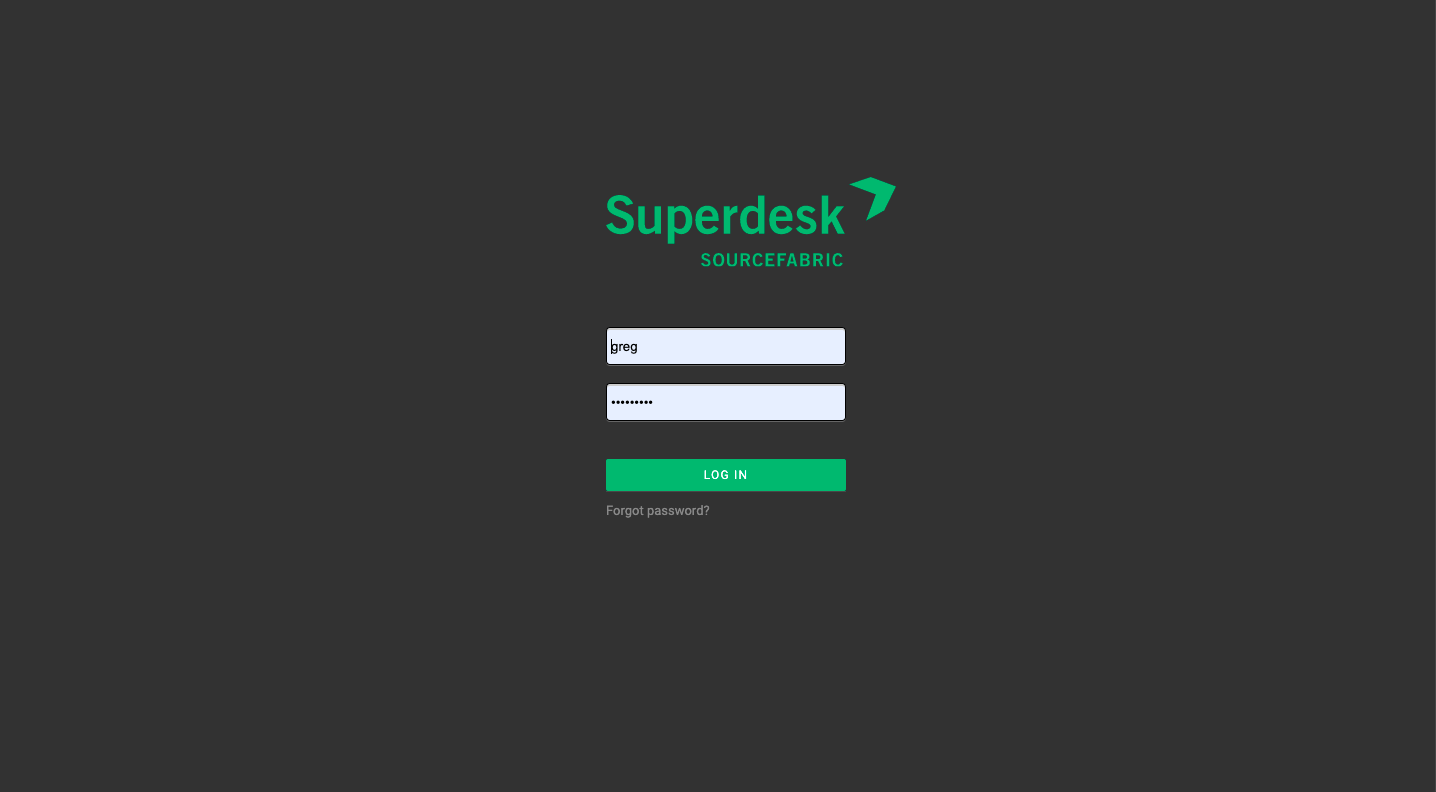
To test that the installation was done correctly, open a new tab in your browser and go to http://localhost:8080. Hit enter. Important: Do not close your terminal window; it must remain open for the duration of your Superdesk session. If Superdesk was installed properly, you will see this screen*:
* Note: Some browsers may return a “Can't provide secure connection" error. In that case, switch to incognito mode and reload the page.
Step 9
Open another terminal in the “SD Docker” folder. In some terminals, you’ll be able to do this by opening another tab, otherwise open another terminal and navigate to the folder again. Do not close the original terminal.
Step 10
In this new tab, you need to run two more commands to complete the Superdesk setup. First, you need to initialise some data for Superdesk to be userful. To do this, type: docker-compose run superdesk-server run python manage.py app:initialize_data and then hit return. Wait until you see the command line before proceeding.
Step 11
Next you need to create an administrator user for the installed Superdesk instance. To do this, type: docker-compose run superdesk-server run python manage.py users:create -u admin -p admin2020 -e admin@localhost --admin
Step 12
With these final commands you’re now ready to give Superdesk a spin. Return to your browser and the Superdesk login page at localhost:8080. Enter the username you just created (“admin”) and password (“Admin2020”) and hit enter. With that, the doors to a new digital newsroom are open for you to explore.
Once you’re done with your self-guided tour you’ll be able to see for yourself why we think Superdesk is the best open-source newsroom management software available.
Want to learn more about Superdesk? Head to the Superdesk site to read up on product news and features, and don't forget to sign up for the Superdesk newsletter.